Installation & Setup
Download, install, and configure WTN Suite for first use
Installation & Setup
Get WTN Suite up and running on your computer. This covers system requirements, installation, and initial configuration.
System Requirements
| Component | Minimum | Recommended |
|---|---|---|
| OS | Windows 10 (64-bit) | Windows 11 |
| RAM | 8 GB | 16 GB |
| Storage | 2 GB free | 5 GB+ free |
| Internet | Required for AI + Edge-TTS | Stable broadband |
| Graphics Card | Not required | NVIDIA GPU (for Kokoro-TTS acceleration) |
ℹ️ Info
WTN Suite is currently Windows-only. Mac and Linux support is planned for a future release.
Download & Install
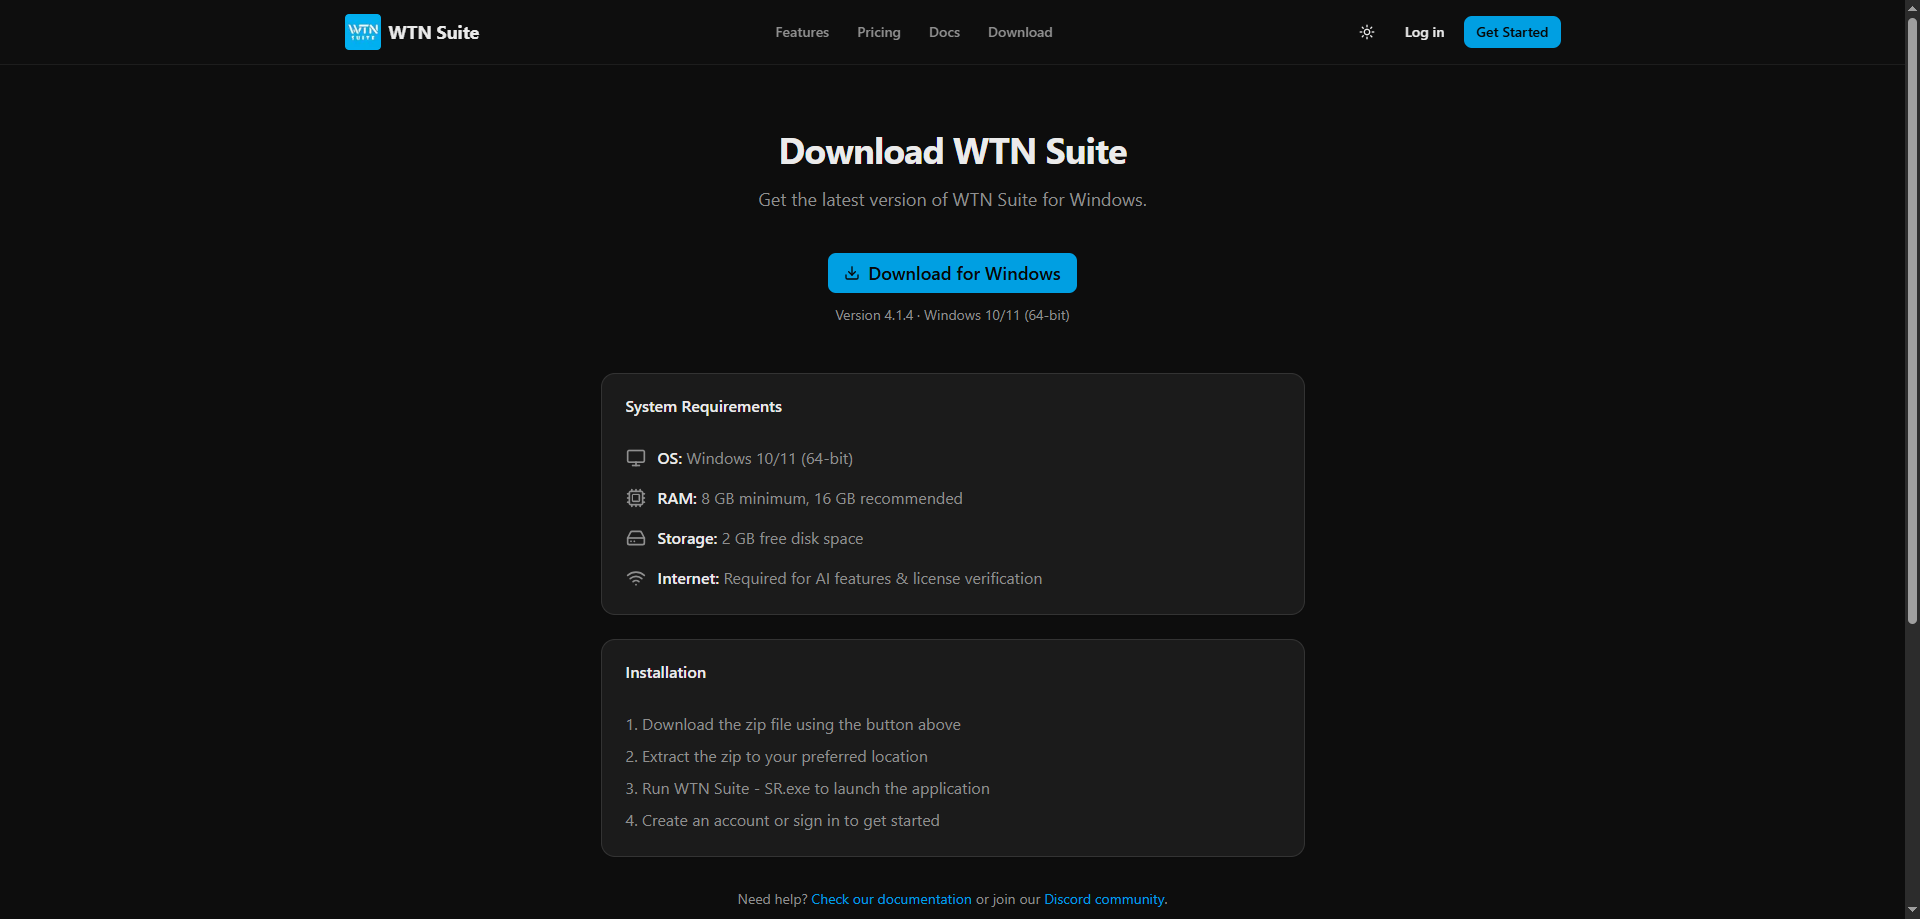
Download WTN Suite
Visit the Download page and grab the latest installer. The download is approximately 1 GB.
Run the Installer
Extract the downloaded ZIP file, then double-click the installer .exe inside to run the setup wizard. Follow the on-screen steps to complete the installation.
⚠️ Warning
Windows Defender may show a warning. This is a common false positive with Python-based applications. Click "More info" → "Run anyway" to proceed. See Troubleshooting if your antivirus blocks the installation.
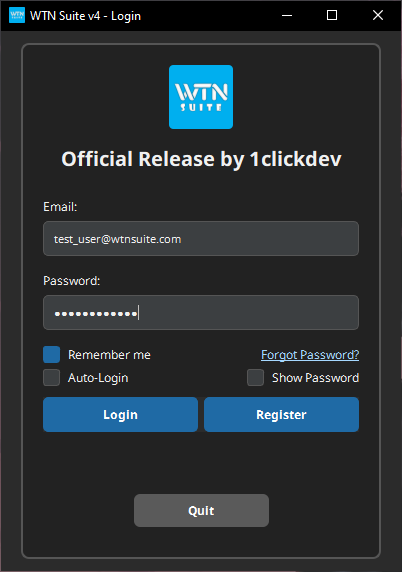
Launch WTN Suite
Open WTN Suite from your desktop or start menu. You'll see the login screen on first launch.
Create Your Account
Verify Your Email
Check your inbox for a verification email from Firebase. Click the verification link to activate your account.
Log In
Return to WTN Suite and log in with your email and password. Enable "Remember Me" to stay logged in between sessions.
💡 Tip
Your WTN Suite account works across both the desktop app and the web dashboard. You can manage your subscription from either.
Set Up Your AI Key
WTN Suite uses AI services (Google AI, OpenAI, or Anthropic) to analyze panels and write narration. You need at least one API key.
Get an API Key
Choose a provider and create your key:
- Google AI (recommended to start): Go to Google AI Studio → Click "Create API Key" → Copy it
- OpenAI: Go to OpenAI Platform → Click "Create new secret key" → Copy it
- Anthropic: Go to Anthropic Console → Click "Create Key" → Copy it
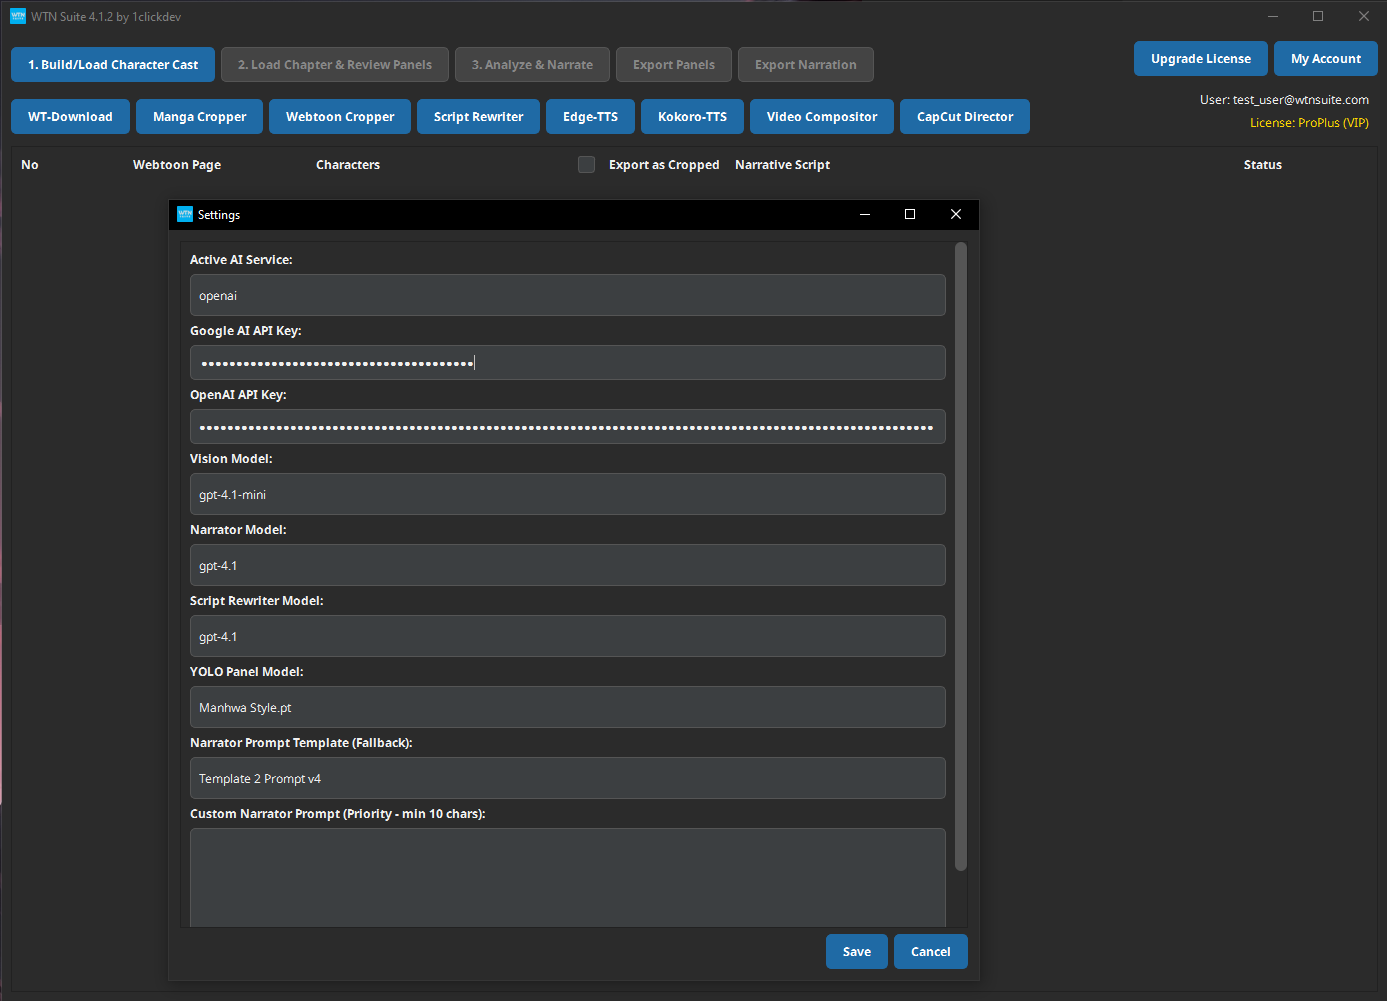
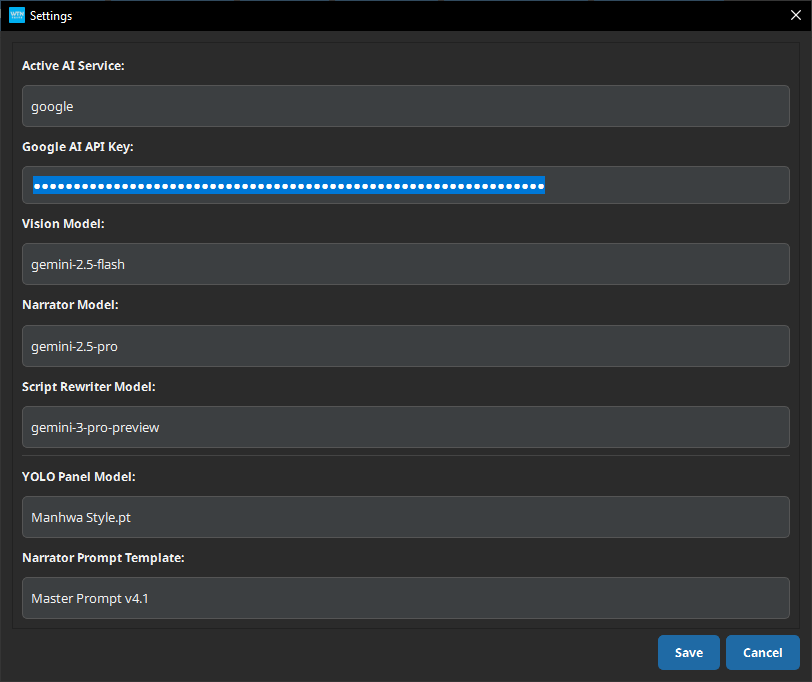
Enter Your Key
Open Settings, select your active AI service from the dropdown, paste your key into the field, and click Save. You can store keys for all three providers and switch between them anytime.


:::
ℹ️ Info
Which provider should I choose?
| Google AI (Gemini) | OpenAI (GPT-4/5) | Anthropic (Claude) | |
|---|---|---|---|
| Free tier | Yes — generous limits | Limited free credits | No |
| Vision quality | Excellent | Excellent | Excellent |
| Speed | Fast | Moderate | Moderate |
| Cost | Very low | Higher | Higher |
Start with Google AI if you're unsure — it offers a strong free tier and excellent results.
Choose a Subscription
WTN Suite offers a free trial with limited features, plus three paid plans:
| Plan | Price | Best For |
|---|---|---|
| Basic | $14.99/mo | Getting started — core pipeline + Auto Character Handling + basic video export |
| Standard | $49.99/mo | Regular creators — adds Kokoro-TTS, CapCut Director, advanced video |
| Pro | $129.99/mo | Power users — adds Script Rewriter, Character Cast import, 4K video |
Visit the Pricing page to subscribe, or see the full Subscription Guide for a detailed feature comparison.
💡 Tip
Start with the Basic plan to learn the workflow, then upgrade when you need advanced features.
Supported File Formats
| Type | Formats |
|---|---|
| Input images | PNG, JPG, JPEG, WEBP |
| Audio output | MP3, WAV, OGG |
| Video output | MP4 |
| Character cast | .cst (WTN Suite format) |
| Narration export | TXT |
Next Steps
You're all set up! Here's where to go next:
- Quick Start Tutorial — Create your first narrated video in ~15 minutes
- Pipeline Overview — Understand each step of the AI pipeline in detail
- Settings & Configuration — Customize AI models, prompts, and preferences